How to create an external slack channel for clients.
1. Purpose
This SOP provides a step-by-step guide on how to create an external Slack channel to facilitate seamless communication and collaboration with external clients.
2. Benefits of an External Slack Channel
Creating an external channel in Slack offers multiple advantages:
- Improved Communication: Enables real-time messaging with external stakeholders without relying on email.
- Efficient Collaboration: Allows for direct discussions, file sharing, and task tracking within a dedicated space.
- Transparency: Ensures all relevant communications are centralized, reducing the risk of lost emails or miscommunication.
- Time-Saving: Eliminates unnecessary delays in responses compared to traditional email exchanges.
- Security and Control: Provides controlled access where only invited members can join and communicate.
Step 1: Open Slack and Navigate to Channels
1. Open your Slack workspace.
2. Click on the "+ Add external people" button in the left sidebar.
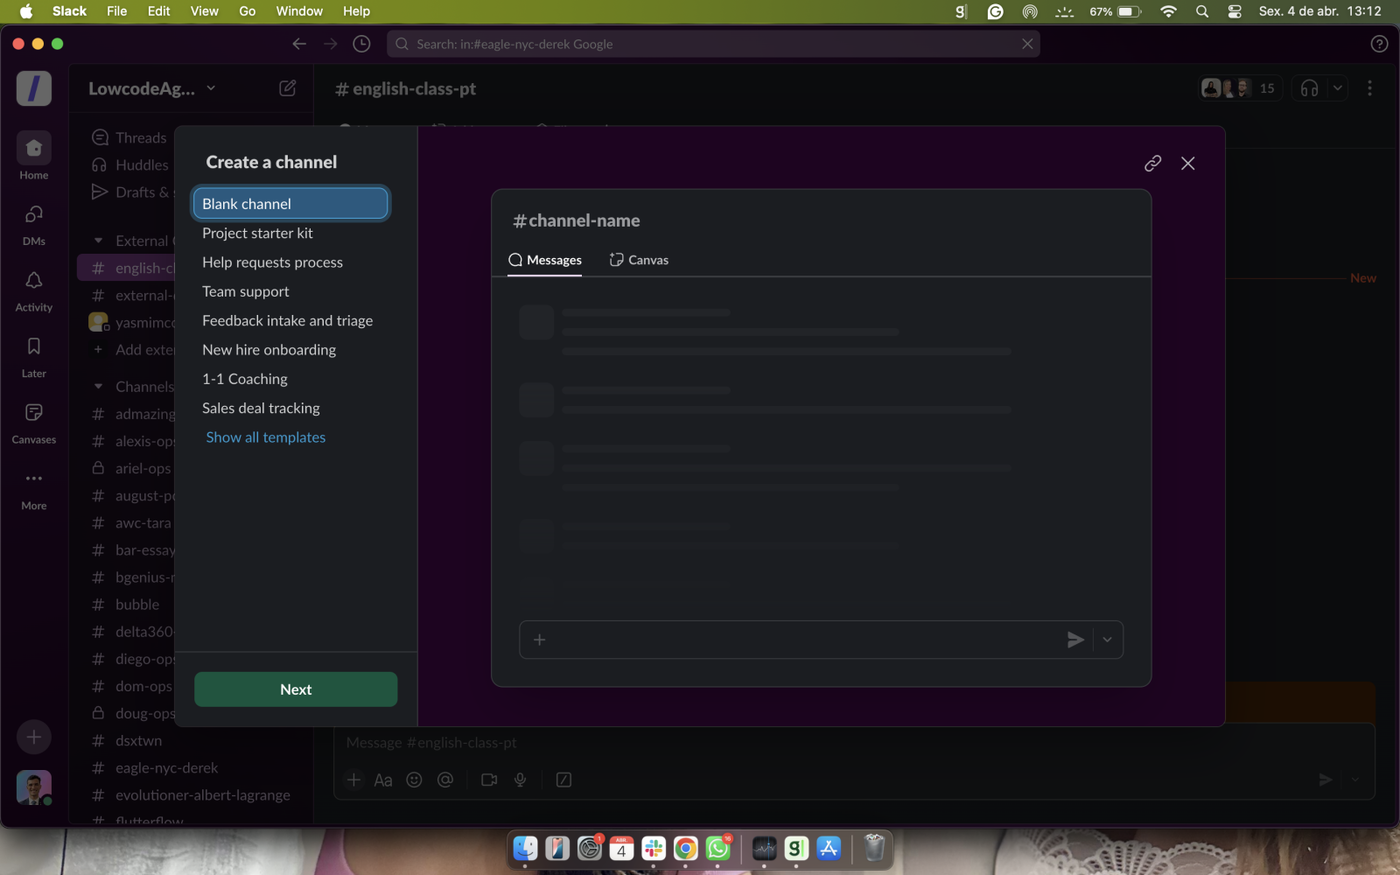
3. Select "Create a channel" from the dropdown menu.
Step 2: Configure Channel Settings
4. Select the blank channel option and then proceed to the next page
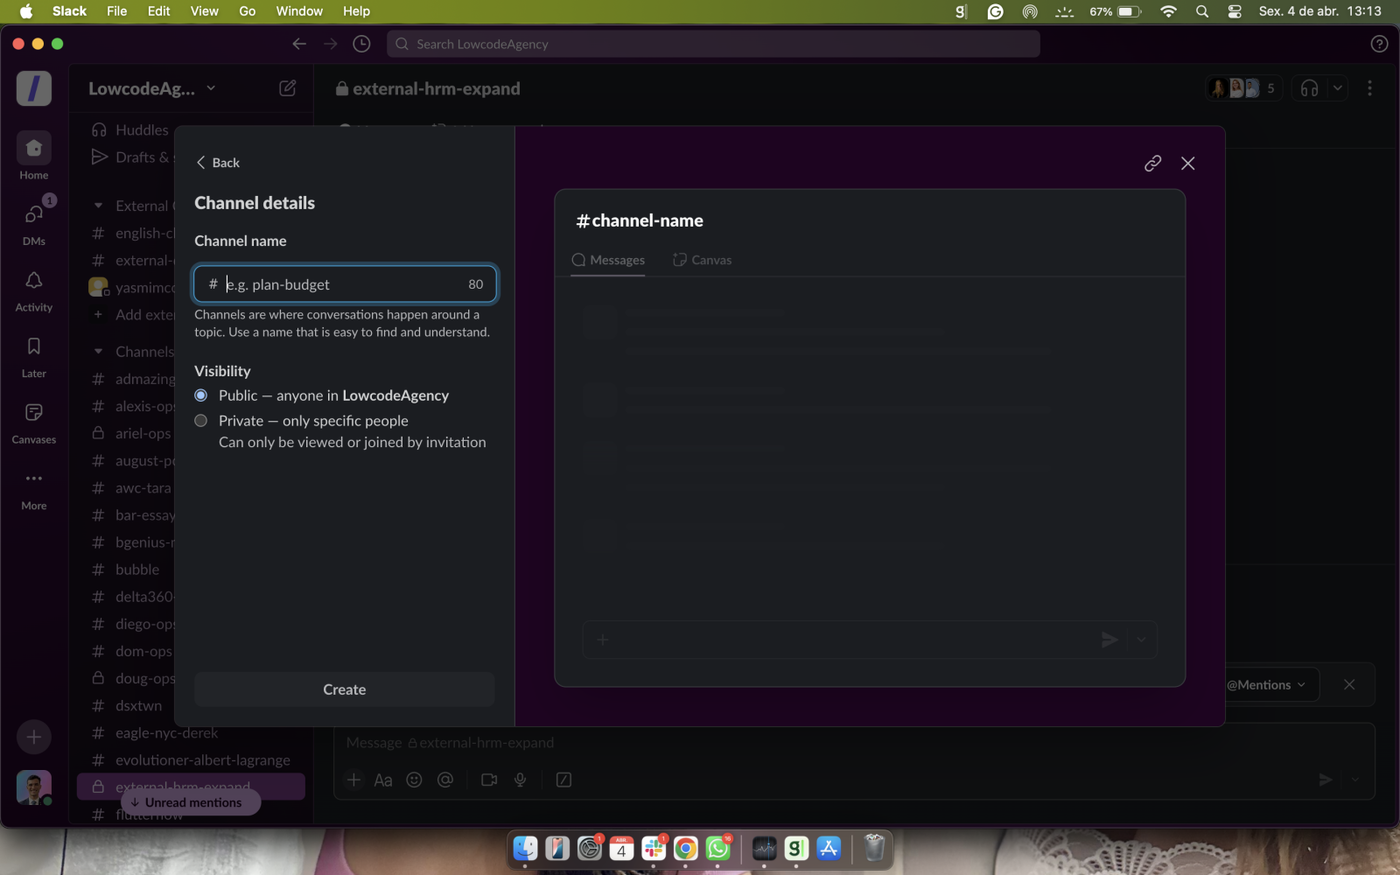
5. Enter a channel name that clearly defines its purpose (e.g., #external-project-name).
6. On Visibility select the private option.
6. Click "Create" to proceed.
Step 3: Add users to the slack channel
8. Click on add people to Channel
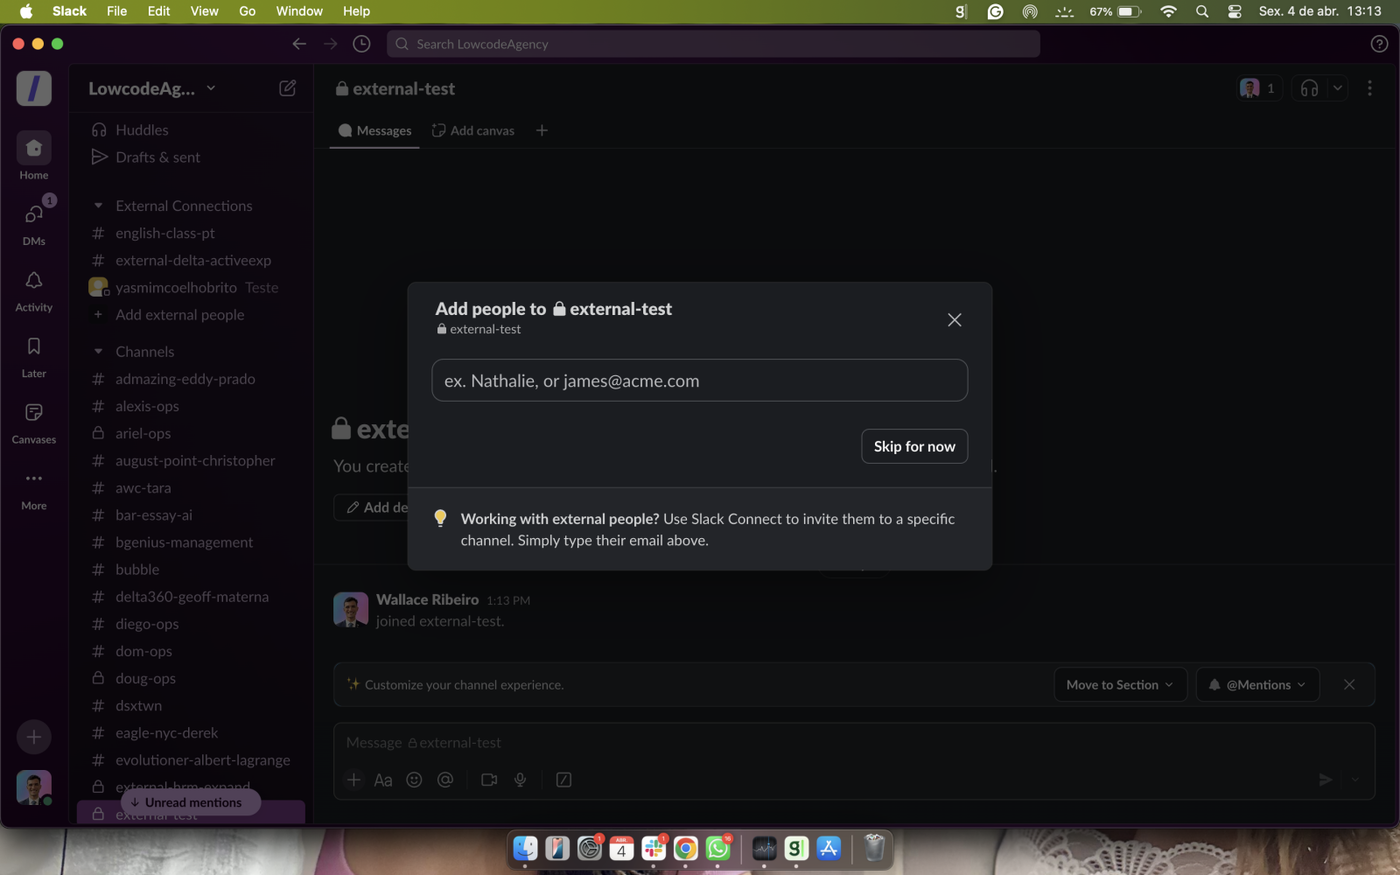
9. Select the desired channel that the user should be added.
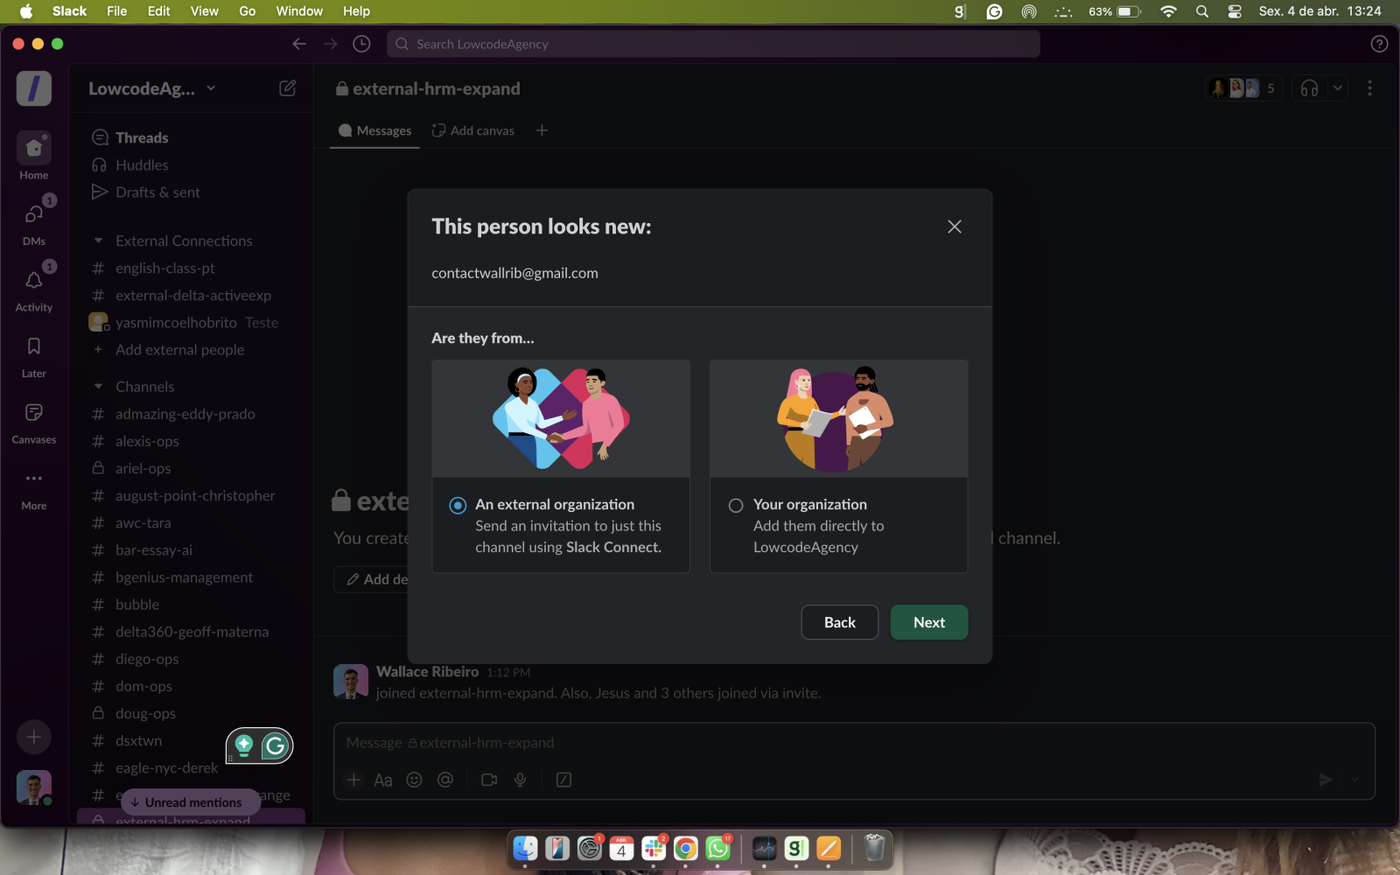
10. Imput the clients email so he / she can be invited
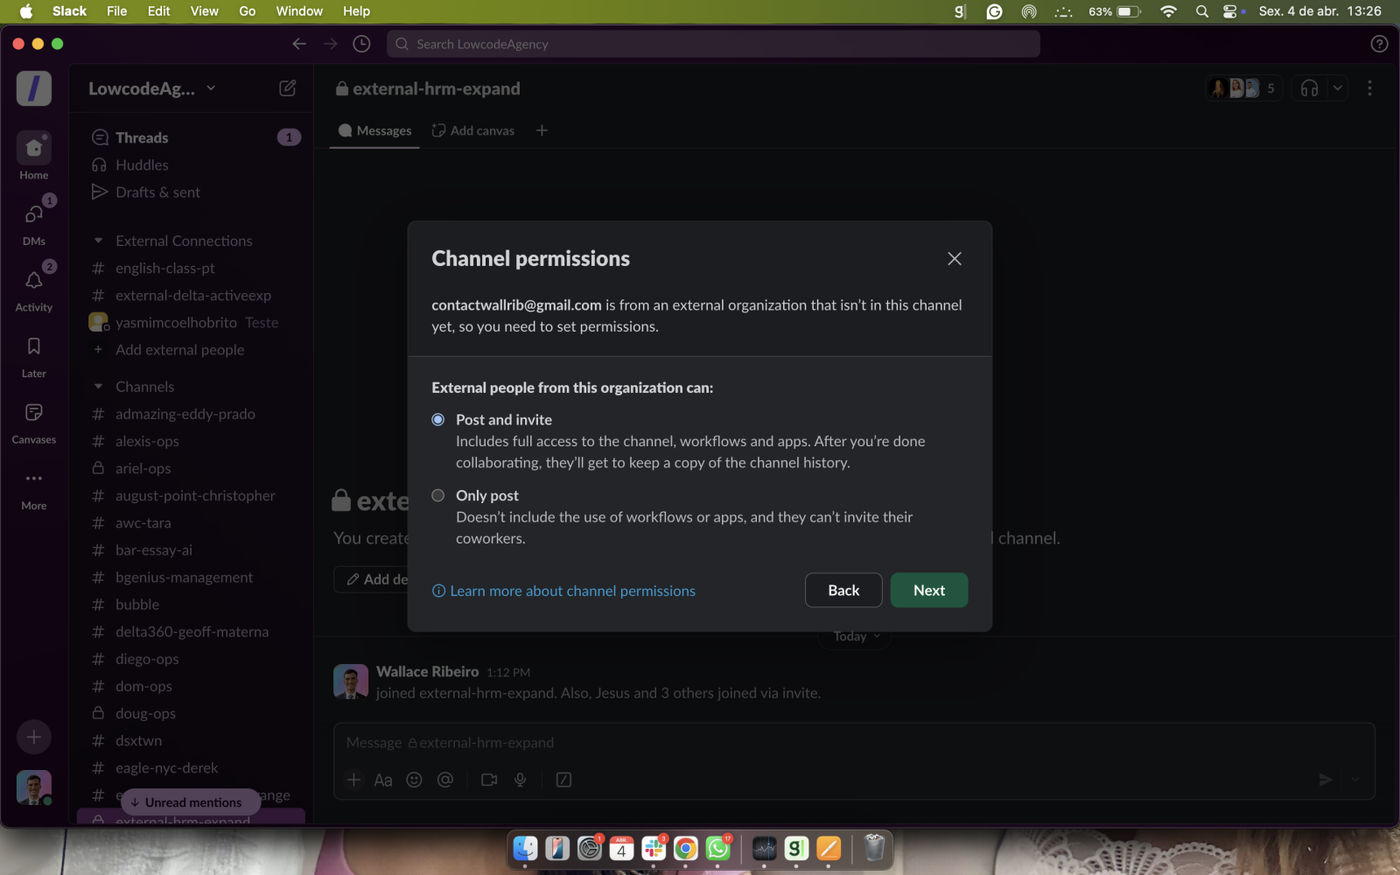
11. Select the users permissions.
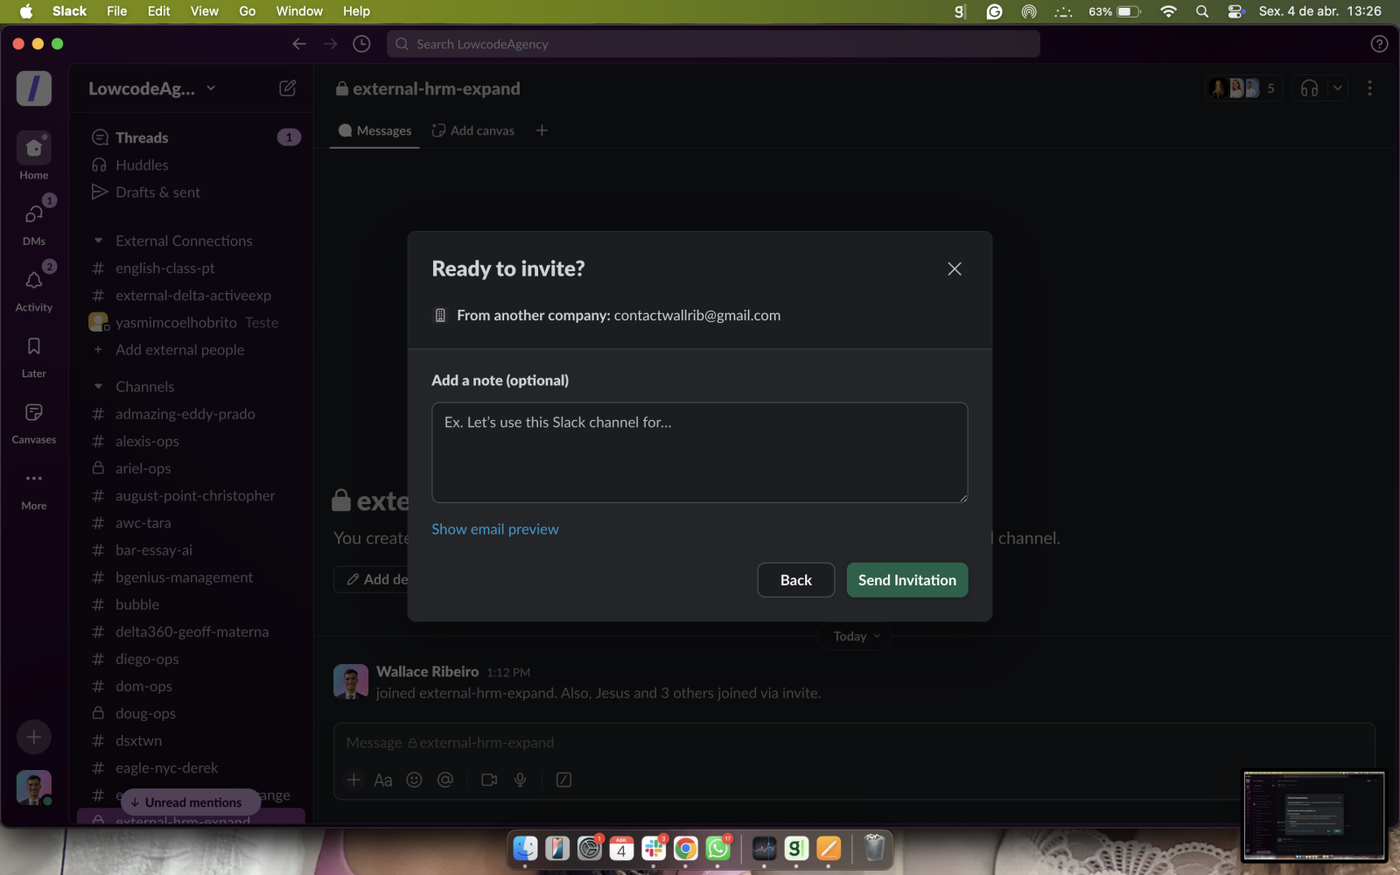
12. Submit the invitation.